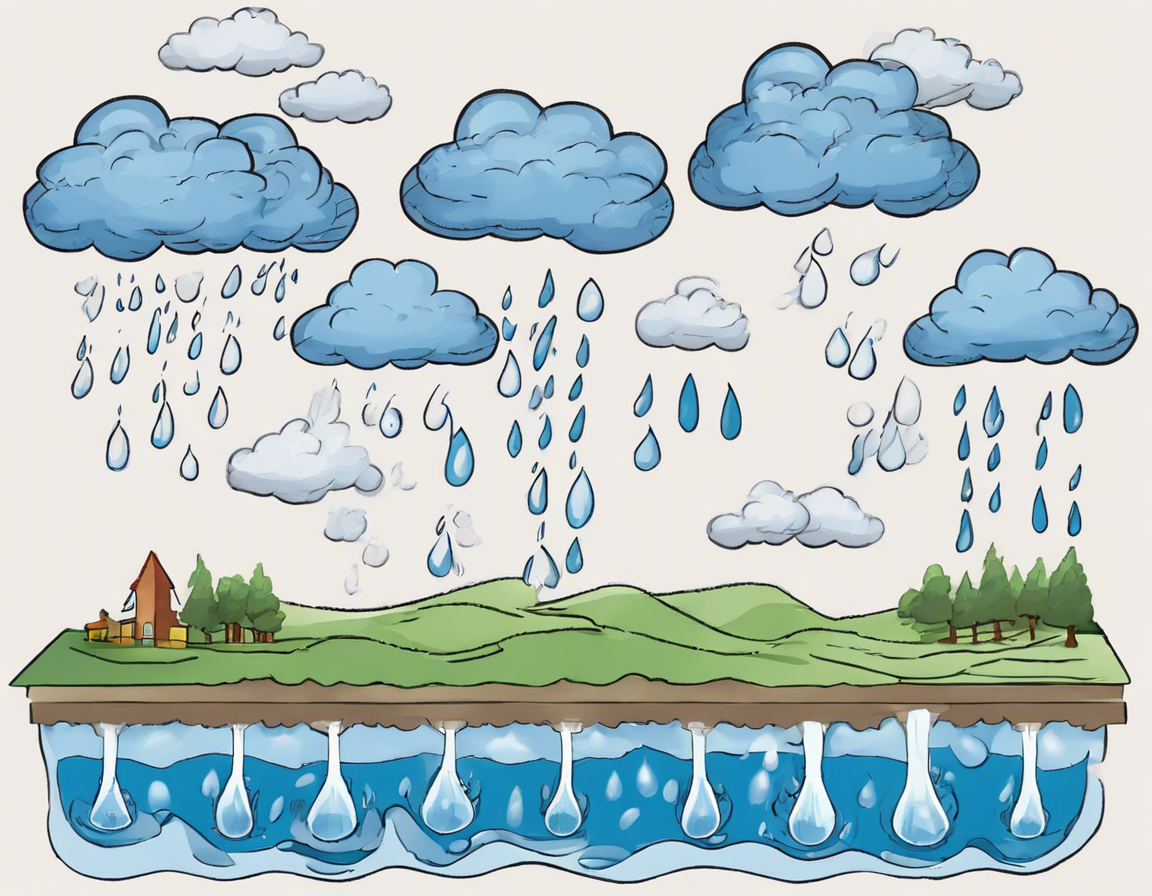
Have you ever wanted to learn how to draw the water cycle in a simple and easy-to-understand way? Well, look no further! In this comprehensive guide, we will break down the steps for drawing the water cycle from evaporation to precipitation, giving you a clear understanding of this vital process. So grab your drawing supplies and let’s get started!
Understanding the Water Cycle
The water cycle is the continuous movement of water on, above, and below the surface of the Earth. It involves processes such as evaporation, condensation, precipitation, and collection. Drawing the water cycle can help you visualize how water circulates in the environment.
Step 1: Evaporation
Evaporation is the process of water turning into vapor and rising into the atmosphere. To draw this, start by sketching a body of water, like a lake or ocean. Add squiggly lines above the water to represent the water turning into vapor and moving up into the sky.
Step 2: Condensation
As the water vapor rises, it cools and condenses to form clouds. Draw fluffy clouds in the sky to represent condensation. You can also add arrows pointing downward to show the movement of water vapor turning into liquid water.
Step 3: Precipitation
When the clouds become heavy with water, they release water in the form of rain, snow, sleet, or hail. Draw raindrops falling from the clouds onto the ground or into bodies of water to illustrate precipitation.
Step 4: Collection
The water that falls to the ground collects in rivers, lakes, and oceans, starting the cycle anew. Draw flowing rivers or a vast ocean to show collection of water.
Additional Elements
You can enhance your drawing by adding sun to represent the heat source for evaporation, mountains to show how water flows downhill, and plants to demonstrate how they absorb and release water through a process called transpiration.
Tips for Drawing the Water Cycle
- Use light, curved lines for water and clouds to give a more realistic look.
- Experiment with different shades of blue for water to show depth and movement.
- Add labels to each step of the water cycle to help you remember the process.
Frequently Asked Questions (FAQs)
Q: Why is the water cycle important?
A: The water cycle is essential for maintaining Earth’s ecosystems and providing fresh water for plants, animals, and humans.
Q: How long does the water cycle take to complete?
A: The water cycle has no set time frame and can vary from hours to thousands of years, depending on the water source and environmental conditions.
Q: Can you explain the role of groundwater in the water cycle?
A: Groundwater is water located beneath the Earth’s surface in soil pore spaces and in the fractures of rock formations. It plays a crucial role in the storage and movement of water during the water cycle.
Q: What is transpiration, and how does it relate to the water cycle?
A: Transpiration is the process by which moisture is carried through plants from roots to small pores on the underside of leaves, where it changes to vapor and is released to the atmosphere. It is an essential component of the water cycle as it contributes to the overall movement of water.
Q: How does human activity impact the water cycle?
A: Human activities such as deforestation, urbanization, pollution, and climate change can disrupt the natural water cycle, leading to issues like water scarcity, droughts, and floods.
Conclusion
Drawing the water cycle can be a fun and educational activity that helps you understand the interconnectedness of Earth’s water systems. By following these simple steps and incorporating additional elements, you can create a visually engaging representation of this vital process. So, grab your sketchbook and start mastering the water cycle today!
