
When your lawn has an unkempt appearance, installing sod is the best remedy you can find for the problem. If you notice that your lawn is becoming overrun by weeds and other unwelcome plants instead of lush grass, it may be time to give it a facelift.
Have you, like many other people, become tired of the time-consuming and conventional procedure of planting seeds and then watching them develop into grass?
What exactly is soil?
Sod is grass with roots and dirt attached for oxidation. It is made up of stretches of grass that are cut into long strips, and behind those strips is a layer of earth. To avoid rot and keep sod fresh after installation, buy it the day it’s harvested. The likelihood of sod being laid down and its rate of growth will be accelerated as a result of this.
How should sod be laid down?
Actually, sod installation on your lawn is a laborious and time-consuming process; nevertheless, this approach is more superior than planting grass seeds and waiting for them to germinate, which has far lower possibilities of being successful. In addition, the finished appearance and overall freshness make the time and work well worth it.
After you have removed the older grass from your lawn, you will be able to put sod. The preparation of the soil and the laying of sod beds on the prepared soil is the next phase in the process. After the sod has been laid, the margins should be trimmed, and it should be routinely watered. When you are through with the technique, you will also need to fertilize the area. If you believe that any area is left uncovered and devoid of grass, you should sow seeds there to fill the empty spaces in the shade.
Remove everything that’s needed to lay sod in this area.
In order to choose the right sod for that, it comes with a soil test kit. The soil is better prepared and nourished when organic matter is present. The majority of our products are made of sod. After the sod has been laid, you will want grass fertilizers.
There are many different types of tools made for cutting and finishing, including rototillers, spading forks, soil rakes, carpet knives, stiff push brooms, and lawn edgers. The lawn roller and the lawn sprinkler are both included in the material for the final finishing.
Taking measurements of the grass in preparation for laying sod
Prior to purchasing sod, it is quite important to determine the size of the lawn you want to sod. If you are familiar with the region, you will be able to purchase an identical piece of sod, which will keep you from having to spend any further money. However, it is recommended that you purchase 5 percent more sod than you need in order to ensure that you can cut it cleanly around the margins.
Clear away any old grass.
It is not possible to lay sod successfully on a rough surface without first removing the existing grass and a little amount of the soil (https://en.wikipedia.org/wiki/Soil) that is already there. The objective is to lower the level of the soil by an inch in relation to the surface that surrounds it so that sod may be readily laid on top of it.
How should the earth be prepared before laying sod?
The first and most crucial stage in laying sod is preparing the soil so that it can support and nourish the sod in the years to come.
- The first thing that has to be done is to work with the organic matter that is already in the soil. In order to do this, you will need to excavate the soil up to a depth of 6 inches and then add organic matter to a depth of 2-3 inches. Organic matter is helpful in boosting the fertility of the soil as well as the microbial activity, which will allow the grass to flourish.
- Take away all of the trash, weeds, and pebbles that are on the surface, and make it as level as possible.
- Reduce the height of the soil by a few inches so that the breadth of both the soil and the sod will add up to the desired height.
- The completed soil should have a gritty texture and be wet, so that it is easy for air to penetrate, and the roots can quickly grasp it.
- Be sure to give the soil plenty of water in the days leading up to the installation day.
Setting the groundwork
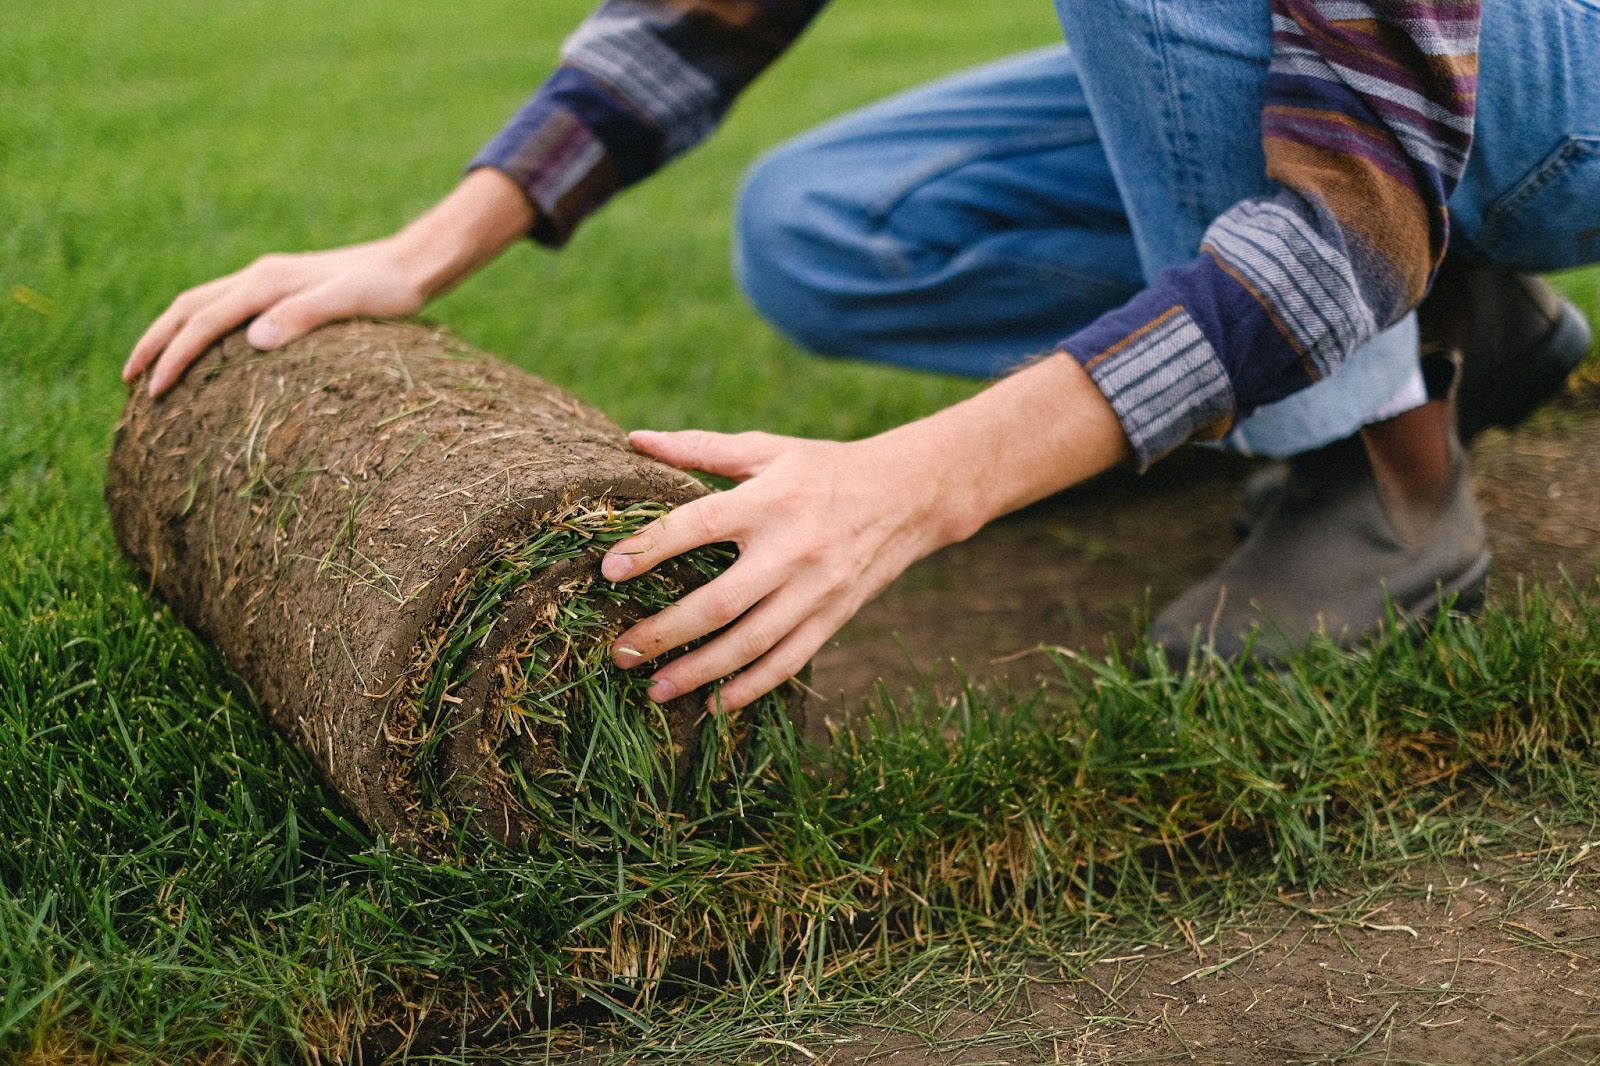
After that, you may start putting sod around the borders. To do this, unroll sod and distribute it straight. Arrange all of them in this order, beginning with the first one. Ensure the full length touches the dirt.
Finishing
After you have finished laying down the sod, the next step is to do the finishing touches on the grass and the sod. It doesn’t matter how carefully you lay the sod beds; the margins surrounding the gaps won’t be straight no matter how well you do it.
Stay off the sod as much as possible for the next thirty days to prevent it from being impacted due to the moist soil underneath it.
Providing moisture to the sod.
Be sure to water the sod at least twice a day on a consistent basis. The most important step in the process is watering the sod, as this will strengthen the connection between the roots and the soil. The roots will eventually get more attached to the earth and the plant will have a greater chance of becoming lush and green if it is watered properly.
Maintain this routine for another month, and then, after the first four weeks, make some significant adjustments to it. It is essential that the soil underneath the sod has a wet texture before the sod can be laid. Steer clear of excessive spraying of water, since this may cause the ground to become muddy.